October 19, 2014

Minted Master Bath

Have you ever started to paint a room then moved on to another project before finishing, leaving the room mid-paint job for an embarrassingly long time?

Well, that's what happened with our master bath. Technically, it's only part of our master bath. We have a crazy big vanity/sink area which is separate from the toilet and shower which is a tiny room of its own. We painted one wall of this tiny room last summer, then we moved on to more prominent rooms and left the bathroom a quarter-way done.


This past week, however, I felt motivated to finally finish the job. This small mint and gray bathroom on Pinterest served as my inspiration:

Inspiration
http://www.apartmenttherapy.com/mollys-coloring-book-modern-apartment-house-tour-184045#gallery/42058/17
To get a similar effect, we went with Valspar Ultra Kitchen+Bath, Paint + Primer in Mint Gala.

Here are the before and afters:
Before
After
Before
After
Everything in the room is new—from the window itself to the valance (from Etsy) to the shower curtain (from Target) to the toilet (from Lowes) to the door knob (from Lowes). It only took me a year to paint all four small walls and finish the job, but better late than never!

July 12, 2014

Eat Your Heart Out

Our eat-in kitchen has come a long way since looking like this a year ago:
With a new light and new windows last year, and a cute and practical window seat built by my dad this winter, the walls around it were just begging for a makeover.
We knew we wanted something light and bright, but our first color choice was a bust.  We went with Sherwin Williams Snowdrop (very light blue) in satin finish, but after three coats, it just didn't give enough of a contrast against the white trim.  We tried to like it, but a few days later ended up doing one of Tommie's worst nightmares…repainting.
Sherwin Williams Snowdrop in satin finish (first attempt)

We decided/learned that colors at the very top of the color chip were just too light for us, so we moved down on the spectrum and went with Sherwin Williams Tidewater (light teal) in satin finish.  I happen to like this color anyway, so I trusted I'd like it on the wall too.  It's light, yet soft and inviting.
Sherwin Williams Tidewater in satin finish (second attempt)

It makes the room look sophisticated, but young and modern, too.  The only downside is that the kitchen now looks extra drab next to it.
Half beauty/half beast

Still, it makes me happy to see how far it's come.  I know we'll get to that ugly kitchen someday.

(Before)
(After)
 (Before)
(After)

June 16, 2014

Clarity Upstairs: New Windows

Last summer, we spent money held in escrow for new windows throughout the downstairs.  This year, we didn't have money in escrow, but we knew we had to replace the upstairs windows anyway.  (Why is it so much easier/more fun to spend other people's money?)
Not only were the upstairs windows failed (hard to see out of), but most of them were sealed shut and the ones that did open would slam closed guillotine-style…hardly fit for a house we are trying to get licensed for foster care.

We bought the cheapest windows on the market at $169 a piece for white vinyl that matches the downstairs.  We didn't install the windows ourselves, but we did replace the old aluminum blinds in the second bathroom with faux white wood blinds that look much better.
New blinds in the second bathroom.
So, after two months of waiting, all the new windows are finally in.  Even thought they aren't fancy, they are much clearer, they cut down on outside noise, and help with energy savings.  Best of all, you get to keep your fingers when they open and close!
New clarity in the guest room.

May 25, 2014

House Love At First Sight


It was on Memorial Day weekend last year that we saw this house listed for sale on Trulia. It was in a nearby neighborhood we had been "stalking," it was within our price range, it had all our "must-haves," and it had just the right amount of potential. Our Realtor showed it to us later that afternoon. We put in an offer the next day and found out the offer was accepted the day after that. We went from casually browsing to buying a house practically overnight.

We've done a lot of work so far and we have a lot more to go, but I often get so caught up in the urge to fix everything all at once that I forget to take the time to reflect on everything we've accomplished in one short year. It's hardly the same house anymore…and that's a good thing, I think.

Here's a montage of the house as it was listed one year ago and how it stands today.

Exterior changes: Powerwash, new paint (blue, gray, & white), new white steel door, new white vinyl windows downstairs (new windows upstairs coming soon!)
One Year Later
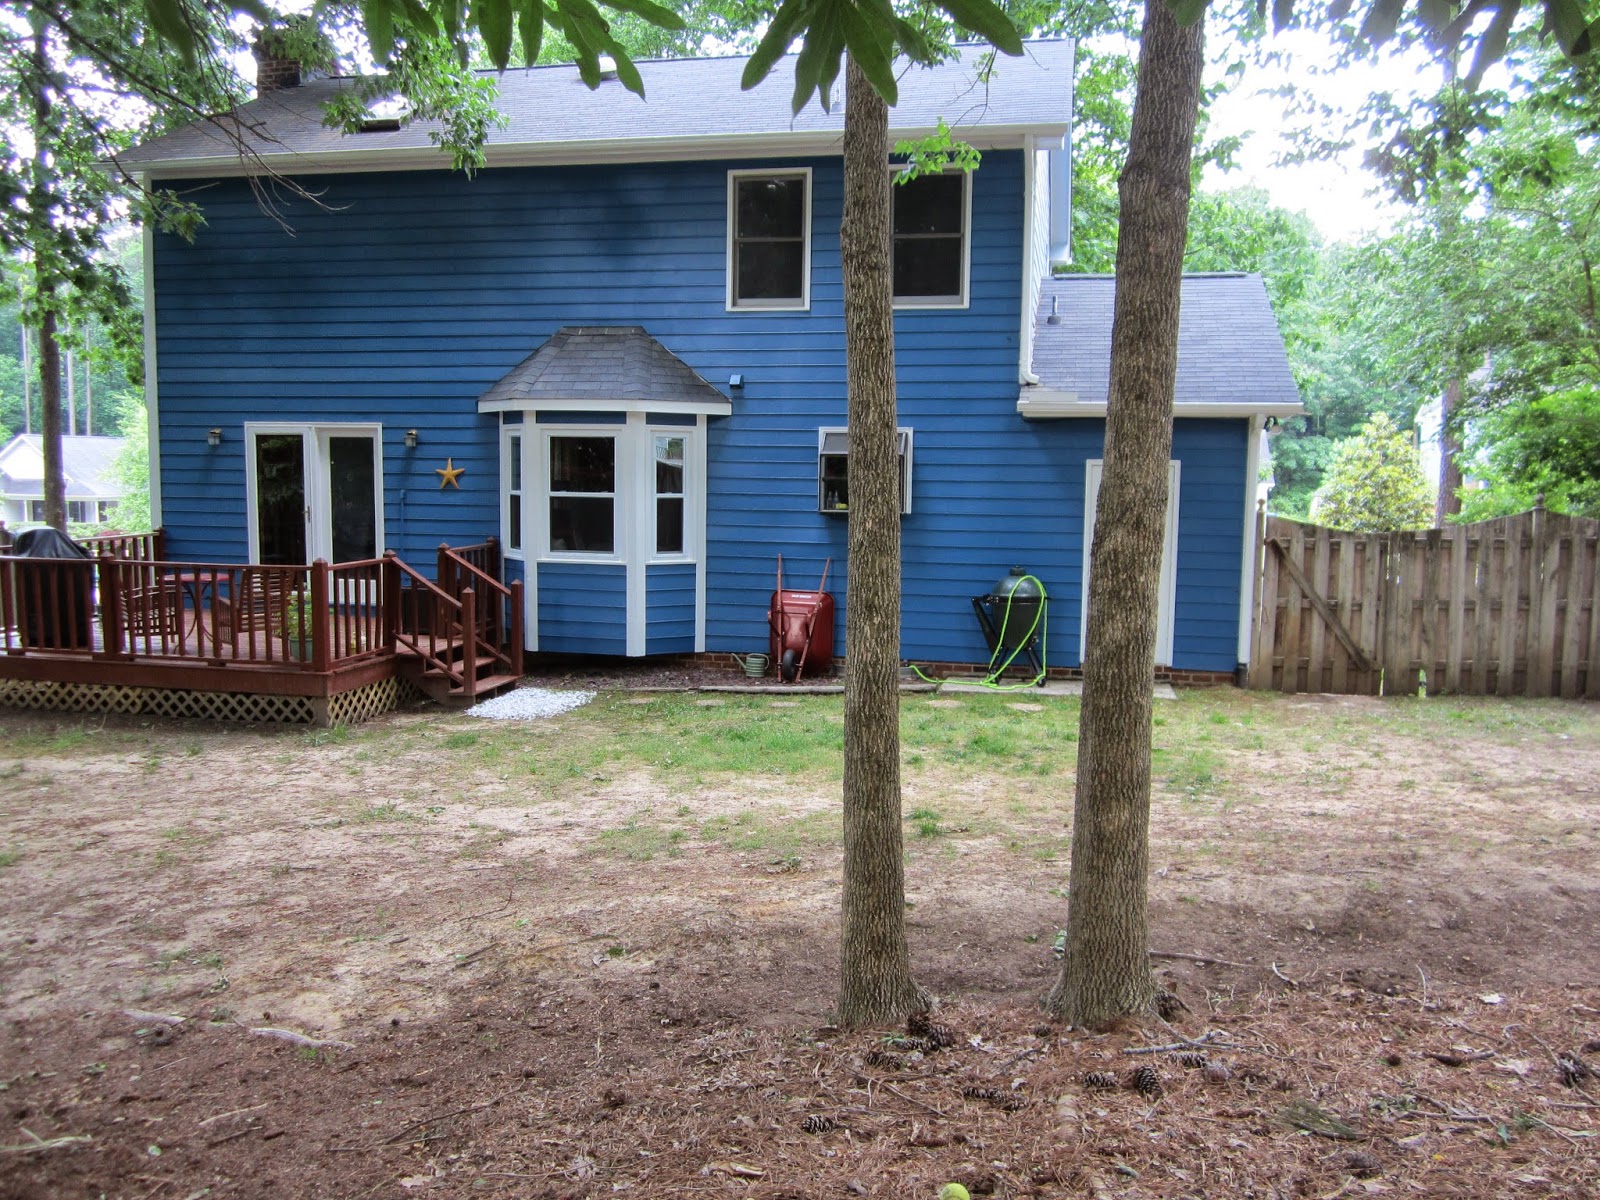
Backyard: Powerwash & new paint, new bay windows, cleared out monkey grass, vines and small trees, repaired broken lattice and play set.
One Year Later

One Year Later
Living Room: Painted walls, trim & mantel, new windows, new curtains, new pot lights, stainless steel outlet plates.
One Year Later

Dining Room: New paint, new windows, curtains and rod, new light fixture, table and chairs.
One Year Later
Kitchen: New windows, custom window seat, new light fixture, primed for paint (next week!) 
One Year Later
Front Hallway: New paint & trim (including banister), new white steel door, new light fixture.
One Year Later
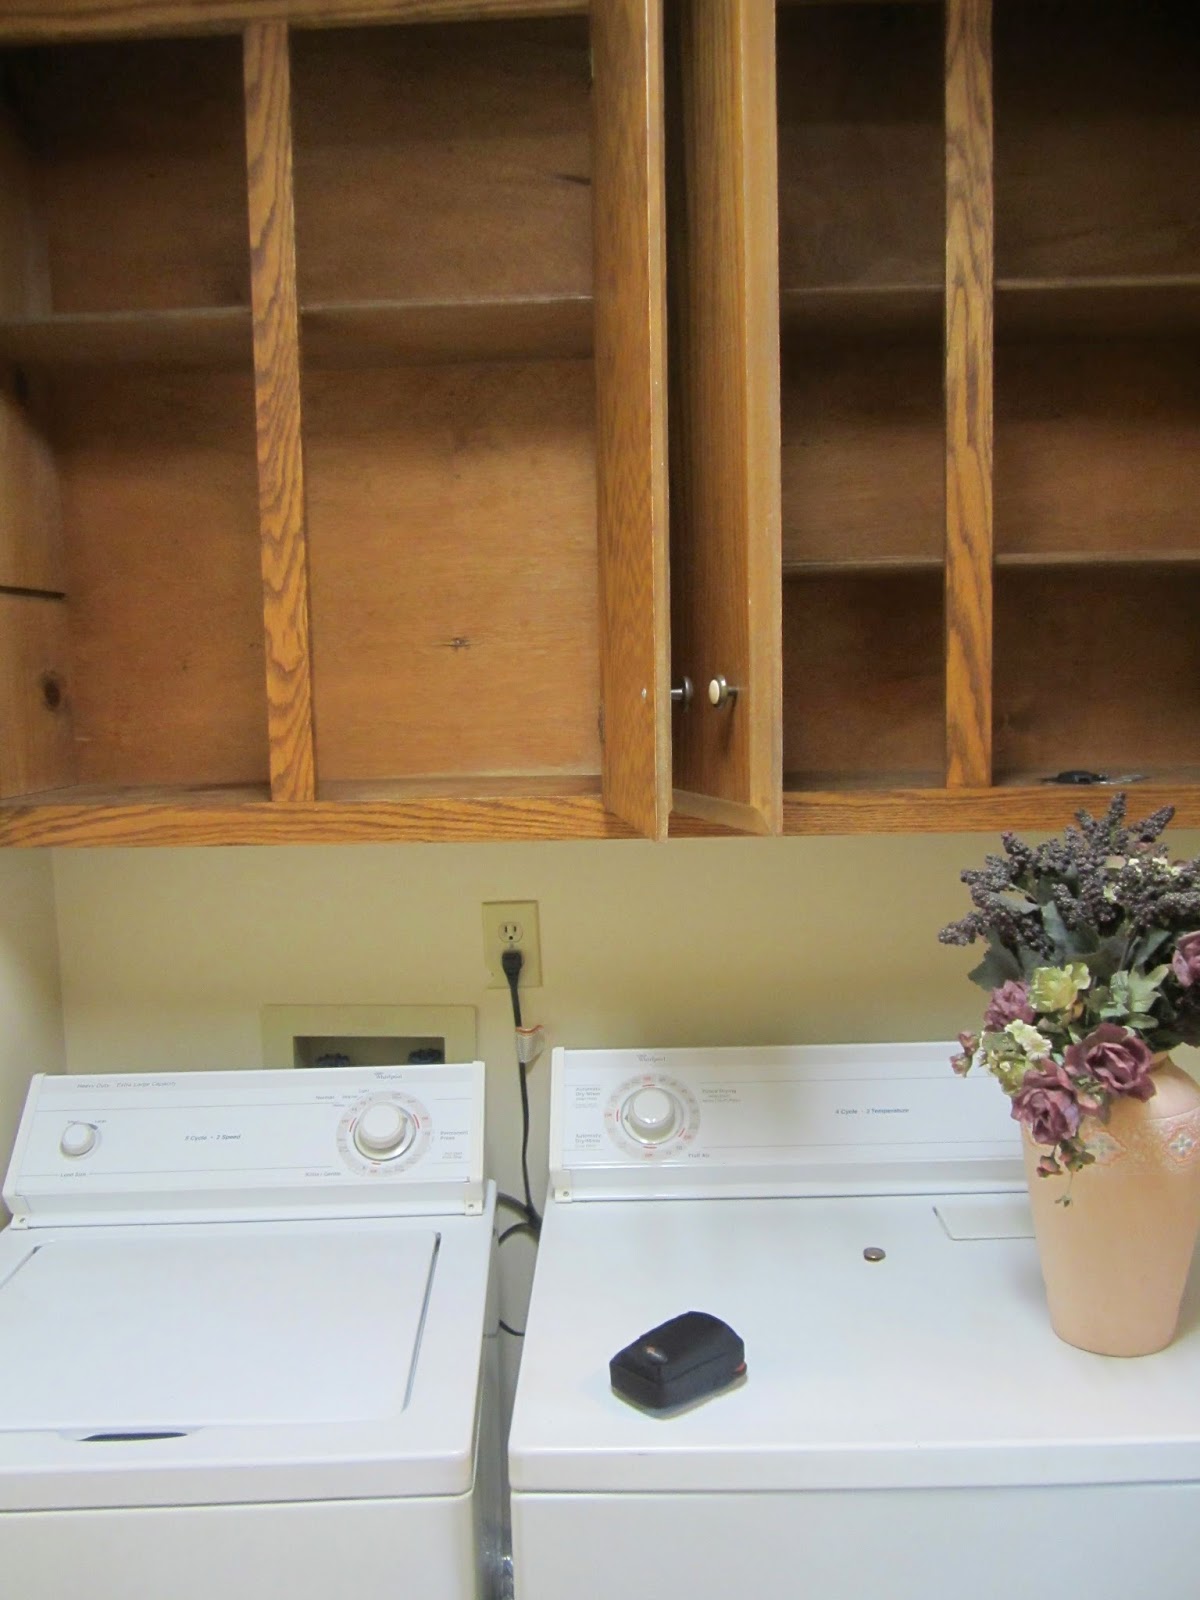
Laundry Room: Painted wall and cabinets, knew knobs, new dryer, custom built folding shelf.
One Year Later
Guest Room: New paint, curtains, art, etc.
One Year Later

Master Bedroom: Removed border, new paint, white outlet covers, curtains (new windows coming soon).
One Year Later
A lot of people think we're joking when we say it will be years before we're done fixing up the house, but it's true.  For every project we've finished, there is an equally daunting project we still have to accomplish (the kitchen, bathrooms, third bedroom, landscaping, etc.). Let's blame HGTV for making us feel as though we can "makeover" an entire house in a short hour-long "episode." Today, though, I will remember this house as it was one year ago when we first saw it, and how far it's come.

May 3, 2014

Lightening up the Laundry Room

Our laundry room is a small space that shoots off from a small hallway at the side entrance (which we never use).  It's in a part of the house that's often forgotten, even though it gets used on a regular basis.
Before and after
We're slowing making some changes in here.  As you saw from the last post, we now have a shelf for folding (thanks, Dad).  We also painted the inside and the outside of the cabinets white (Valspar white semi-gloss; the same white we use for all the trim). Priming and painting also helped take care of the old dryer sheet smell that seeped into the wood. We also added new shiny silver knobs.

Dark cabinets

White cabinets
To top things off we bought ourselves a new dyer!  It's nothing fancy (it was the cheapest model--Admiral--on sale at Home Depot for $299), but it works better than our old one which had to run for three hours before everything was dry.
When the old dryer was hauled out, we started painting the walls.  I can't tell you the exact color because it was a $3.00 can of "mistake paint" from Lowes, but it's some kind of periwinkle. We still have a couple walls to paint but it's already transforming from a dark cave to a laundry room that doesn't feel so much of a chore to be in anymore.

April 15, 2014

Folding Space

This is a late project recap from the winter when my dad put up a shelf in our laundry room for folding clothes.  It's already proving to come in handy in the small space where I used to have to fold on top of the dirty machines.
This was another project completed with two-by-fours and plywood. After it was built, I painted it white and applied a couple coats of Safecoat sealant to help with durability.

Eventually, fresh paint will help brighten up the room which is has already improved in function and style with the shelf and other projects we've been working on (more on that later).