Showing posts with label Kitchen. Show all posts

September 26, 2015

Slowly Going Stainless in the Kitchen

With not that many walls left to paint, we're starting to look ahead to the bigger and more involved house projects…like the kitchen and bathrooms. These spaces are investments. They cost a lot, but they also add the most value. Still, we're going to need to tackle them in pieces so we don't go into debt trying to do it all at once.
Old dishwasher
When our dishwasher started leaking all over the kitchen floor a few months ago (it was about 30 years old, so I can't blame it!), it forced us to start making upgrades to our appliances. The dishwasher, for obvious reasons, had to come first. We bought a floor model to save a couple hundred dollars, but it turns out that was broken too (floor models are 50/50 chances…they are either great deals or bad mistakes and we lost on this one). Luckily, the store was able to replace it at no cost with a newer model (Samsung in stainless steel).
New dishwasher (Samsung stainless steel)
I thought the stainless steel would stick out and make it so obvious that the rest of our kitchen looks hideous, but in reality, the steel actually blends in MORE with the space. It's a welcome change from the old bisque and black appliance.
Before and After
With that initial change in the kitchen, we decided to hire a contractor to complete a project we've been wanting to do since we moved in…venting a range hood to the outside so that grease and steam can escape our kitchen (the original vent was non-ducted). 
Old hood
It made sense to get a vented hood in place before making a lot of other changes to the kitchen and getting them covered in grease.
Venting to the outside through the upper cabinets
We chose a sleek stainless steel Broan under cabinet hood (QML30SS) that's not overly fancy, but will do the trick for normal kitchen cooking. We had the contractor run a 7" round duct through the upper cabinets (which we really don't use anyway) and install a vent cap outside. We could have used smaller duct work but the 7" allows the vent to work at max capacity, so we went with that.
New hood (Broan stainless steel)
New range hood
This winter, we're hoping to upgrade the stove and maybe start to tackle painting the upper cabinets and replacing the door faces which would really help brighten the space. We'll work our way down from there (eventually getting to the countertops and floors).

July 12, 2014

Eat Your Heart Out

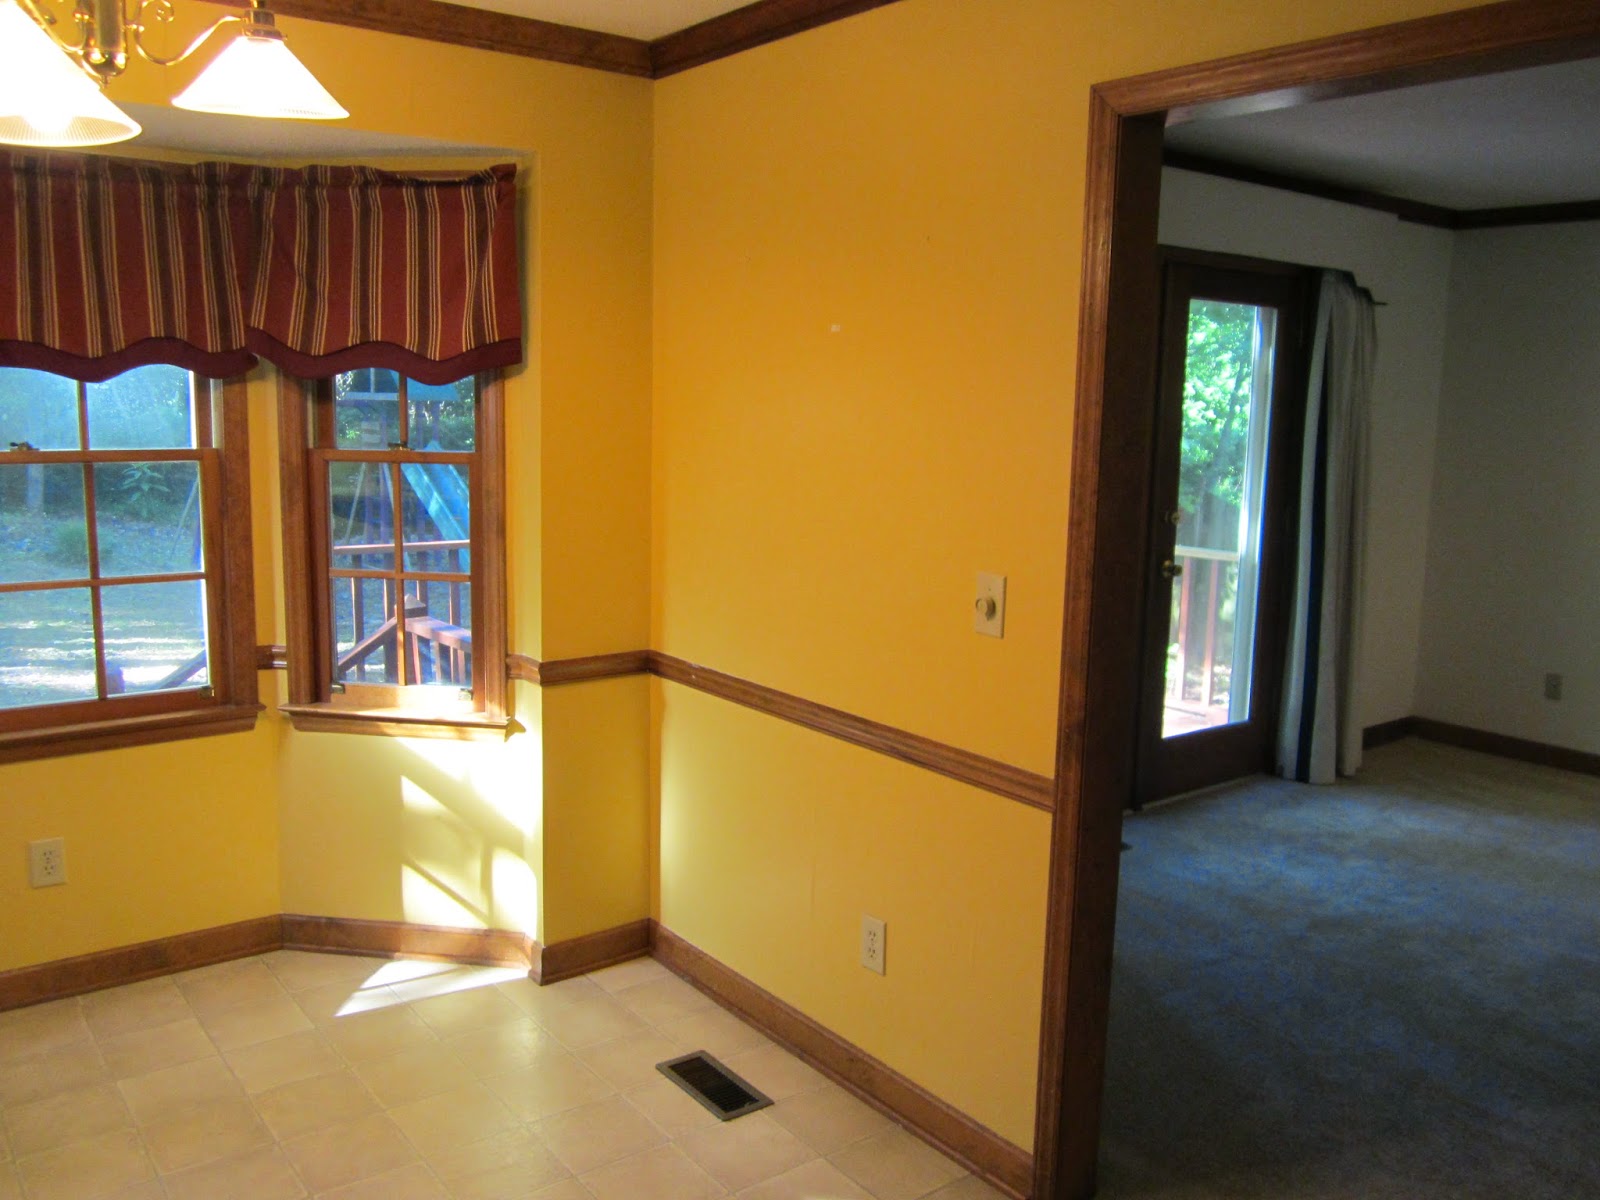
Our eat-in kitchen has come a long way since looking like this a year ago:
With a new light and new windows last year, and a cute and practical window seat built by my dad this winter, the walls around it were just begging for a makeover.
We knew we wanted something light and bright, but our first color choice was a bust.  We went with Sherwin Williams Snowdrop (very light blue) in satin finish, but after three coats, it just didn't give enough of a contrast against the white trim.  We tried to like it, but a few days later ended up doing one of Tommie's worst nightmares…repainting.
Sherwin Williams Snowdrop in satin finish (first attempt)

We decided/learned that colors at the very top of the color chip were just too light for us, so we moved down on the spectrum and went with Sherwin Williams Tidewater (light teal) in satin finish.  I happen to like this color anyway, so I trusted I'd like it on the wall too.  It's light, yet soft and inviting.
Sherwin Williams Tidewater in satin finish (second attempt)

It makes the room look sophisticated, but young and modern, too.  The only downside is that the kitchen now looks extra drab next to it.
Half beauty/half beast

Still, it makes me happy to see how far it's come.  I know we'll get to that ugly kitchen someday.

(Before)
(After)
 (Before)
(After)

May 25, 2014

House Love At First Sight


It was on Memorial Day weekend last year that we saw this house listed for sale on Trulia. It was in a nearby neighborhood we had been "stalking," it was within our price range, it had all our "must-haves," and it had just the right amount of potential. Our Realtor showed it to us later that afternoon. We put in an offer the next day and found out the offer was accepted the day after that. We went from casually browsing to buying a house practically overnight.

We've done a lot of work so far and we have a lot more to go, but I often get so caught up in the urge to fix everything all at once that I forget to take the time to reflect on everything we've accomplished in one short year. It's hardly the same house anymore…and that's a good thing, I think.

Here's a montage of the house as it was listed one year ago and how it stands today.

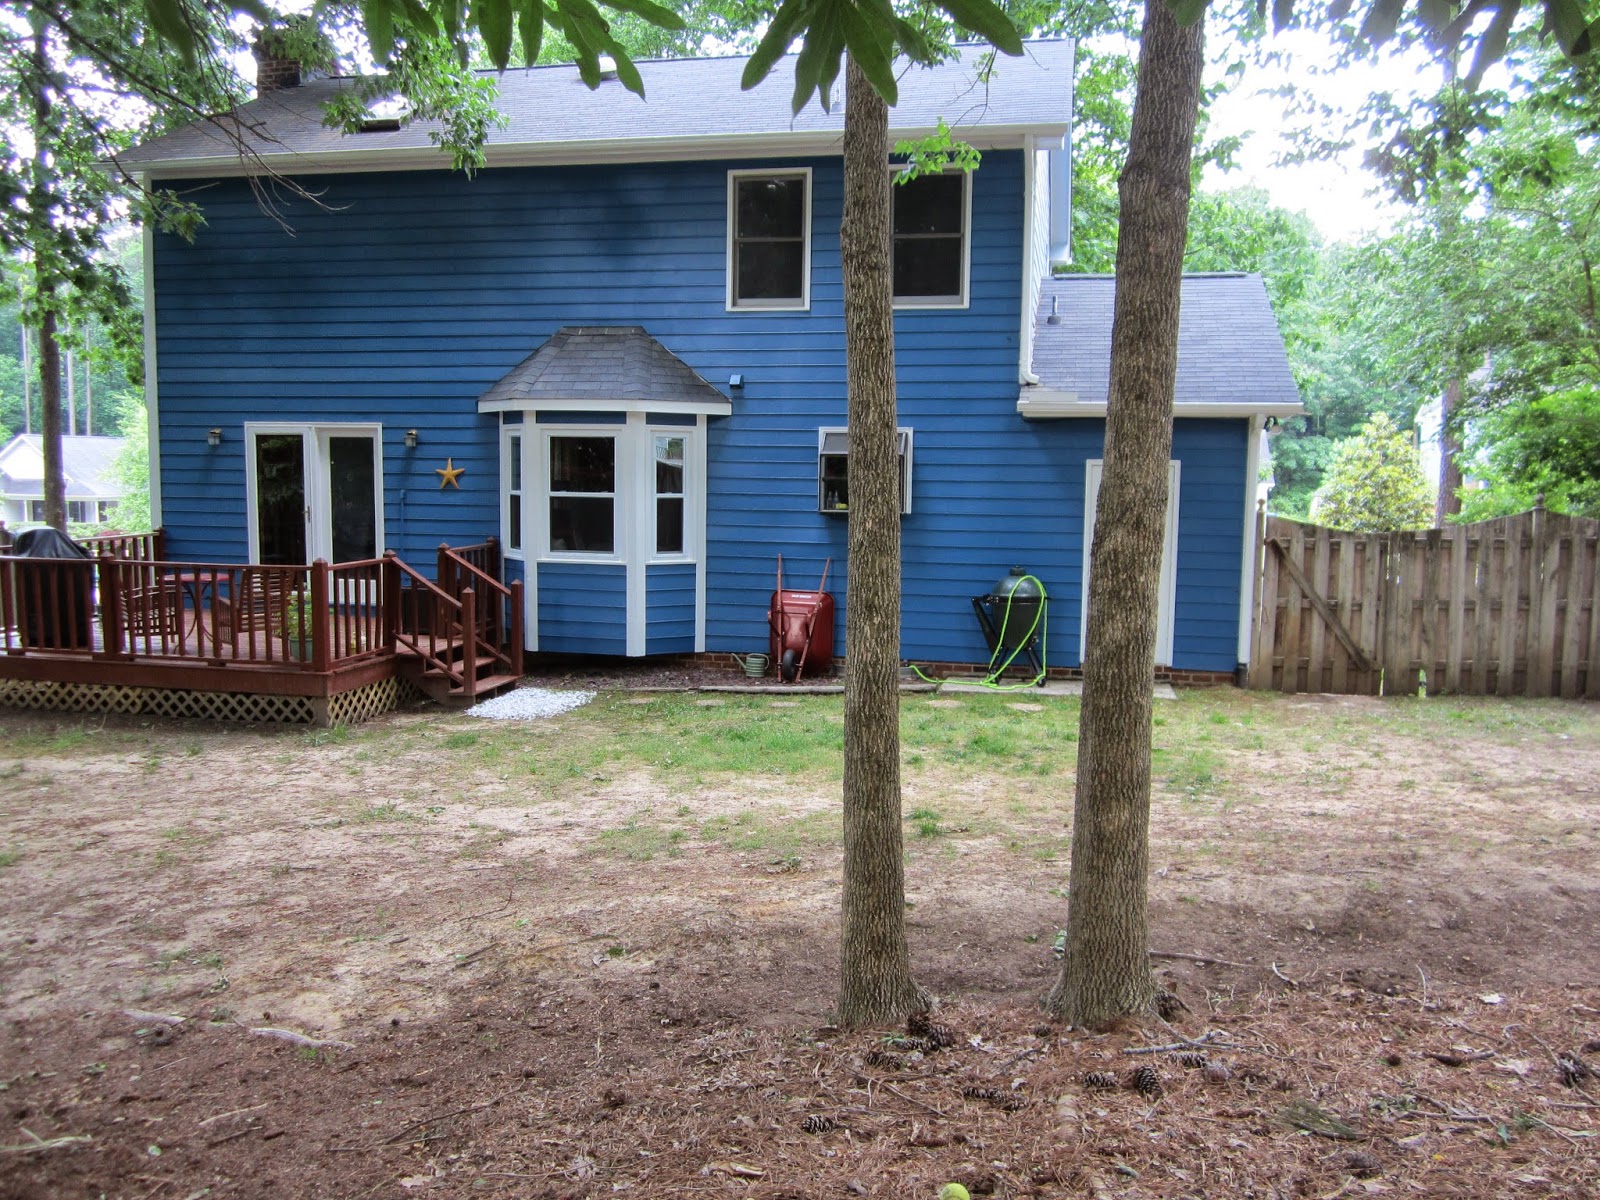
Exterior changes: Powerwash, new paint (blue, gray, & white), new white steel door, new white vinyl windows downstairs (new windows upstairs coming soon!)
One Year Later
Backyard: Powerwash & new paint, new bay windows, cleared out monkey grass, vines and small trees, repaired broken lattice and play set.
One Year Later

One Year Later
Living Room: Painted walls, trim & mantel, new windows, new curtains, new pot lights, stainless steel outlet plates.
One Year Later

Dining Room: New paint, new windows, curtains and rod, new light fixture, table and chairs.
One Year Later
Kitchen: New windows, custom window seat, new light fixture, primed for paint (next week!) 
One Year Later
Front Hallway: New paint & trim (including banister), new white steel door, new light fixture.
One Year Later
Laundry Room: Painted wall and cabinets, knew knobs, new dryer, custom built folding shelf.
One Year Later
Guest Room: New paint, curtains, art, etc.
One Year Later

Master Bedroom: Removed border, new paint, white outlet covers, curtains (new windows coming soon).
One Year Later
A lot of people think we're joking when we say it will be years before we're done fixing up the house, but it's true.  For every project we've finished, there is an equally daunting project we still have to accomplish (the kitchen, bathrooms, third bedroom, landscaping, etc.). Let's blame HGTV for making us feel as though we can "makeover" an entire house in a short hour-long "episode." Today, though, I will remember this house as it was one year ago when we first saw it, and how far it's come.

April 11, 2014

Cushion Conundrum

During my journey to find an inexpensive custom window seat cushion for our seat (which is about 82 x 25 inches), I learned that upholstery foam is outrageously expensive, and that only rich people buy anything custom.
Plan B took us to World Market where we noticed 17-inch square chair cushions were 20% off, bringing the $16.99 price to under $14 each.  We could fit four of these yellow chevron patterned cushions along the seat, and figure that we'll fill in the back and sides with accent pillows.
It's not perfect, and it's certainly not custom, but for $54 total, it was the easiest and most affordable solution. Most importantly, Maya doesn't seem to care as long as it's soft.

March 11, 2014

Simple Project: Pot Lights

If you're looking for an easy house project/home update, we found it…replacing old pot lights.  If your house is over 20 years old, like ours, and has recessed lights (aka pot lights) of any variety in the ceiling, chances are the casing is cracked, dirty, and discolored.
This is a project we put off longer than we should have because we thought it was going to be more difficult than it seemed (as most house projects are), but it probably took a total of 10 minutes to replace four pot lights in two rooms, and it made a huge difference!  It's also not expensive ($7 to $12 per light.)
The eyeball lights in our living room were discolored and the "eyeballs" were coming loose, so fixing them was important.  The recessed lights in our kitchen had black interiors that stood out from the white ceiling and called unnecessary attention to how ugly and dirty they were.  Changing them to white not only better matched the ceiling, but also reflected a lot more light into the kitchen.  It's the small things that make a big difference.
Tommie was so excited about accomplishing an easy house project that it inspired him to stay up all night painting cabinets in the laundry room.  I wish we had more pot lights to fix to get him in the mood!
(New pot light versus old pot light…and one happy camper.)

March 1, 2014

The Wonderful Window Seat

When we talk about all the things we want/plan to do in the house, the window seat was something that got people really excited.  And bay windows are the perfect spot to build one customized to the home.
We have a bay window in the dining room and one in the eat-in kitchen. I was having trouble choosing the best spot for a window seat…until we had a party and everyone gathered around the kitchen, of course.  Decision made: we were definitely going to need more seating in the eat-in area.

This was a project for my dad.  We helped, but he did most of the sawing, building, and measuring.  I was ready with the paint brush when it was all done.  Here's the frame going up below the windows:
Here it is with the storage hole (over which a hinged cover would go) and the beadboard going up on the face of it.  You could just use plywood on the face (which we used on the top), but we wanted a little extra detail on the front. (When it was complete, we added moulding too.)
Here is the lid with storage underneath for Maya's dog food.  Maya, of course, had no problem being one of the first to test out the new seat which conveniently overlooks squirrels in the backyard and food on the kitchen table (her kind of spot).
We painted the seat and the inside of the window inlet all white; I figure this will allow for more colorful pillow options.  As you can see, we are beginning to work on the walls around it too, but there's a lot of prep work because it's painted wallpaper that is peeling up.
Aside from patching up the walls, the next (and most challenging task) is finding an affordable cushion that will work with a custom-sized bench.

It's great to now have a seat that will accommodate at least three extra people in the room…and it looks so pretty.
(Eat-in Day 1)
(Eat-in Now)