April 14, 2015

Hallway of Gray

We finally got around to painting our stairwell/hallway and risers, though admittedly, with the help of a professional painter who had ladders that could reach our 16-foot high ceiling.
 For comparison...here is the before picture:
The color we used is the same silvery gray (Samovar Silver in satin finish by Sherwin Williams) painted in the living room and dining room. It's a neutral shade that we're using in various parts of the house to help unify the spaces and balance out some of the other crazy colors we've painted on accent walls, etc.

The risers were painted white to match the trim and banister spindles.
Once again, the before picture when the only color the house knew was "oak:"
The gray walls look great with the banister and create a two-tone effect (with a deeper darker grayish blue on the rail). Now both the upstairs and downstairs oak has been transformed and the institution-style white scuffed hallways are a thing of the past. 
Aside from a few doorways and, of course, the ugly kitchen, this concludes most of the painting on both levels. (Notice how moving on to more expensive projects means less projects getting done at all.) Over time, we'll start tackling some of the bigger projects and I'll continue to share them here.

February 14, 2015

Freshen up the Laundry Room

Our laundry room is a small space in the back hallway that's been getting upgraded slowly over the past year, including painting the oak cabinets white, painting the trim and walls, my dad building a custom shelf, and getting a new washer and dryer!
Laundry room before
Laundry room after with painted cabinets and new washer/dryer
Laundry room before
Folding shelf in progress
Laundry room now


The color is a shade of blue-ish periwinkle, but I don't know exactly because it was a can of $3 "mistake paint" from Lowe's.

Whatever the color is, it inspired us to go with a bit of an "underwater" theme; check out the porthole mirror with the whale swimming through it.
Other than the unflattering buzzing florescent light in there, our laundry room is pretty much complete and it feels good to have another space checked off the list! 

January 25, 2015

Torching the Torch Lights

Ever since we had the exterior of our house painted over 14 months ago, I've been dying to update the front porch lights. The oxidized brass torch lights from the 80s looked so dull and old up against the new bright house, but I struggled to find a style my husband and I liked, and one that fit the "look" of the house.
Old light
We didn't like any of the exterior lights Home Depot or Lowes had in stock and we didn't like anything we saw online that was in our price range…until I stumbled across this guy on Overstock.com
New light
At the time we purchased it, it was under $50 and we were sold on the simple, mission-style modern design.
Before
After
As with any house project, there was a catch. The screws the light came with were too long, causing the light to hang off the wall. 
We had to make a Lowes run to get a pack of smaller machine screws with washers and thankfully that did the trick.
The sleek silver light blends in much better with the rest of our updated exterior and it even gives off more light. Another small project checked off the list!

January 12, 2015

Future Foster Kids Room

This winter, we finally started to redo the third bedroom, dubbed "the kid's room." But we don't have kids and we're actually not "having" kids at allour hope is that one day this will be the space for our future foster kids. 
Even though we still have a ways to go in the application process before actually becoming licensed foster parents, it was important for us to move forward and get the room "ready." It helps visualize actually having a child in there someday.

Before its makeover, the third bedroom was a very faint blue; there were lots of holes in the walls and the windows were a safety hazard as they slammed shut, so we knew we had repairs to make along with cosmetic changes. 

Here's a before and after shot:

(Third bedroom before)
(Third bedroom after)
The main changes include painting the room a light greenish/yellow (the color is Springtime in satin finish from Sherwin Williams); adding furniture, which is second-hand or from Craigslist; putting up branch-themed curtains and a matching modern branch stencil-cut desk chair.

There are also new vinyl windows that aren't a safety hazard anymore and an assortment of colorful art on the walls, including cute animals (from Fab.com), globes and maps, and magnetic strips for hanging personal photos or being creative with magnetic poetry.

The other two walls (not pictured) are still in progress. We have a second twin bed to put together and I want to put book slings on the wall in place of having a bookshelf.

The biggest challenge for this room is designing a space that could be for any child, any age, girl or boy (though I know my style leans more towards "girly"). I expect we'll have to make some changes as we go along, but for the initial setup our main goal is to have this room be a cozy, cheery and welcoming space for whoever arrives at our door someday.

October 19, 2014

Minted Master Bath

Have you ever started to paint a room then moved on to another project before finishing, leaving the room mid-paint job for an embarrassingly long time?

Well, that's what happened with our master bath. Technically, it's only part of our master bath. We have a crazy big vanity/sink area which is separate from the toilet and shower which is a tiny room of its own. We painted one wall of this tiny room last summer, then we moved on to more prominent rooms and left the bathroom a quarter-way done.


This past week, however, I felt motivated to finally finish the job. This small mint and gray bathroom on Pinterest served as my inspiration:

Inspiration
http://www.apartmenttherapy.com/mollys-coloring-book-modern-apartment-house-tour-184045#gallery/42058/17
To get a similar effect, we went with Valspar Ultra Kitchen+Bath, Paint + Primer in Mint Gala.

Here are the before and afters:
Before
After
Before
After
Everything in the room is new—from the window itself to the valance (from Etsy) to the shower curtain (from Target) to the toilet (from Lowes) to the door knob (from Lowes). It only took me a year to paint all four small walls and finish the job, but better late than never!

July 12, 2014

Eat Your Heart Out

Our eat-in kitchen has come a long way since looking like this a year ago:
With a new light and new windows last year, and a cute and practical window seat built by my dad this winter, the walls around it were just begging for a makeover.
We knew we wanted something light and bright, but our first color choice was a bust.  We went with Sherwin Williams Snowdrop (very light blue) in satin finish, but after three coats, it just didn't give enough of a contrast against the white trim.  We tried to like it, but a few days later ended up doing one of Tommie's worst nightmares…repainting.
Sherwin Williams Snowdrop in satin finish (first attempt)

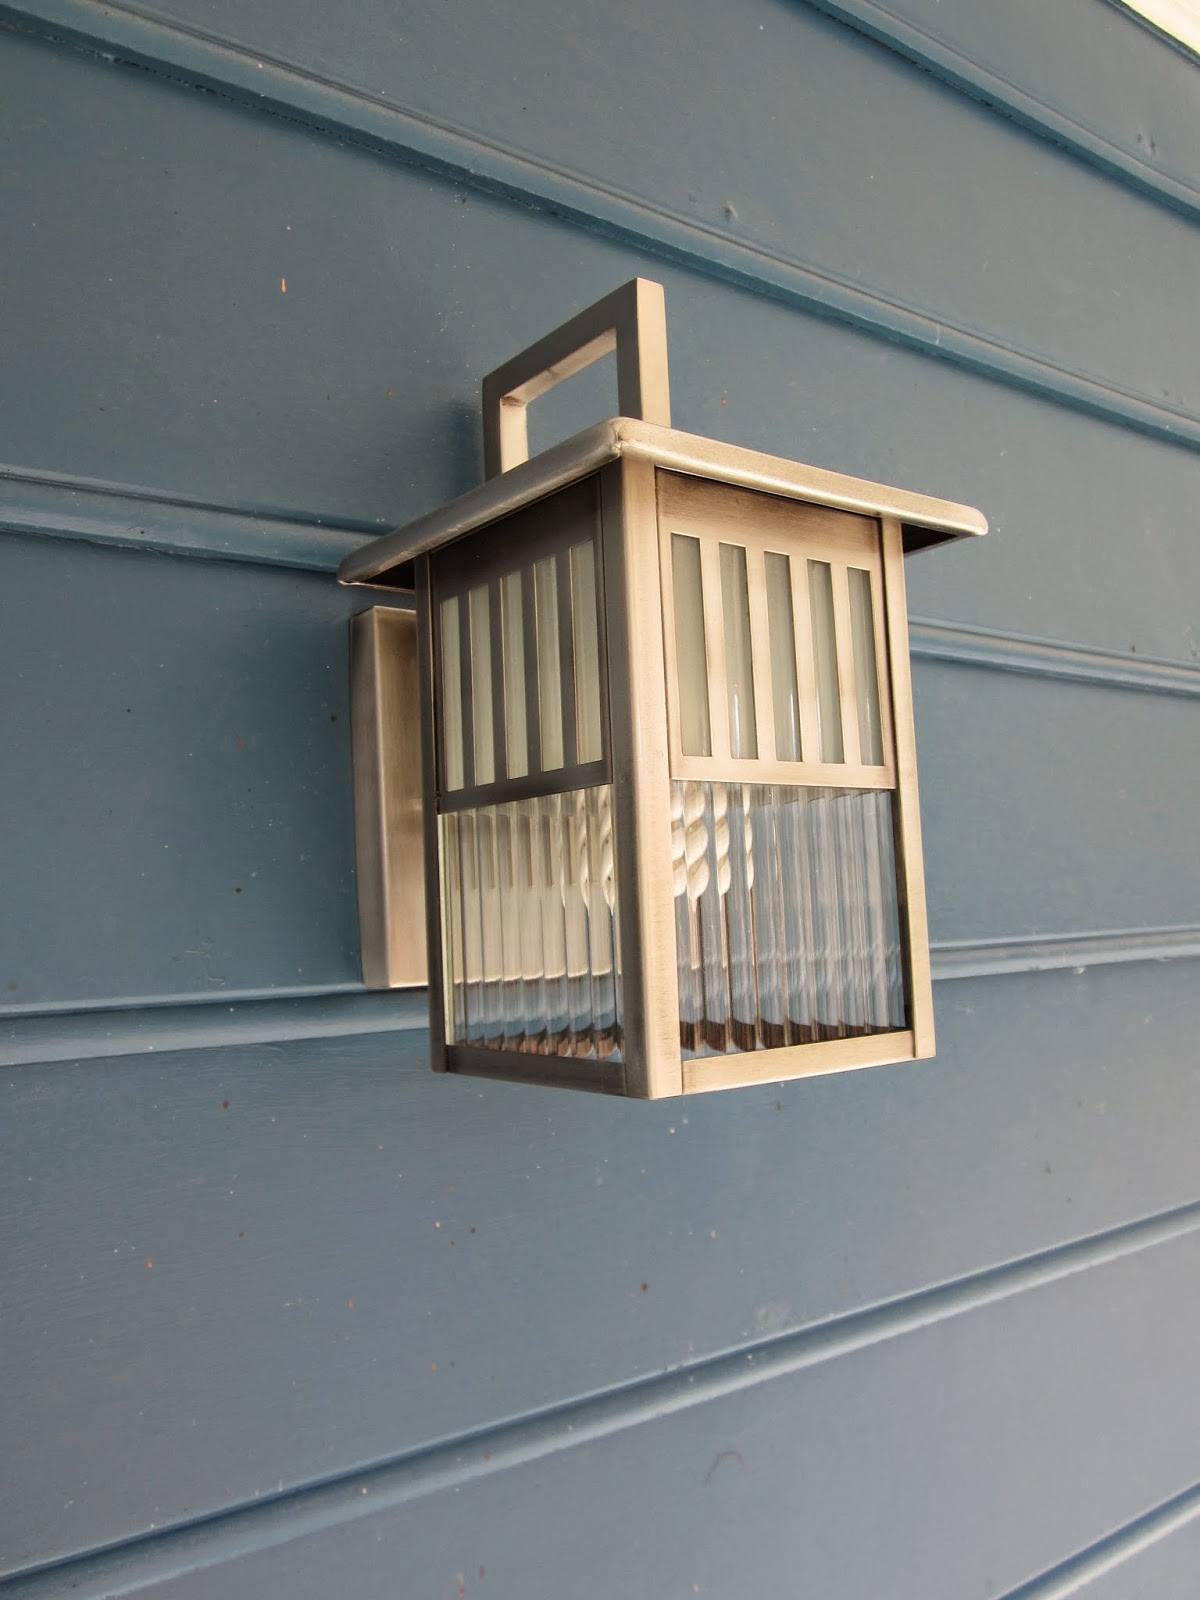
We decided/learned that colors at the very top of the color chip were just too light for us, so we moved down on the spectrum and went with Sherwin Williams Tidewater (light teal) in satin finish.  I happen to like this color anyway, so I trusted I'd like it on the wall too.  It's light, yet soft and inviting.
Sherwin Williams Tidewater in satin finish (second attempt)

It makes the room look sophisticated, but young and modern, too.  The only downside is that the kitchen now looks extra drab next to it.
Half beauty/half beast

Still, it makes me happy to see how far it's come.  I know we'll get to that ugly kitchen someday.

(Before)
(After)
 (Before)
(After)

June 16, 2014

Clarity Upstairs: New Windows

Last summer, we spent money held in escrow for new windows throughout the downstairs.  This year, we didn't have money in escrow, but we knew we had to replace the upstairs windows anyway.  (Why is it so much easier/more fun to spend other people's money?)
Not only were the upstairs windows failed (hard to see out of), but most of them were sealed shut and the ones that did open would slam closed guillotine-style…hardly fit for a house we are trying to get licensed for foster care.

We bought the cheapest windows on the market at $169 a piece for white vinyl that matches the downstairs.  We didn't install the windows ourselves, but we did replace the old aluminum blinds in the second bathroom with faux white wood blinds that look much better.
New blinds in the second bathroom.
So, after two months of waiting, all the new windows are finally in.  Even thought they aren't fancy, they are much clearer, they cut down on outside noise, and help with energy savings.  Best of all, you get to keep your fingers when they open and close!
New clarity in the guest room.